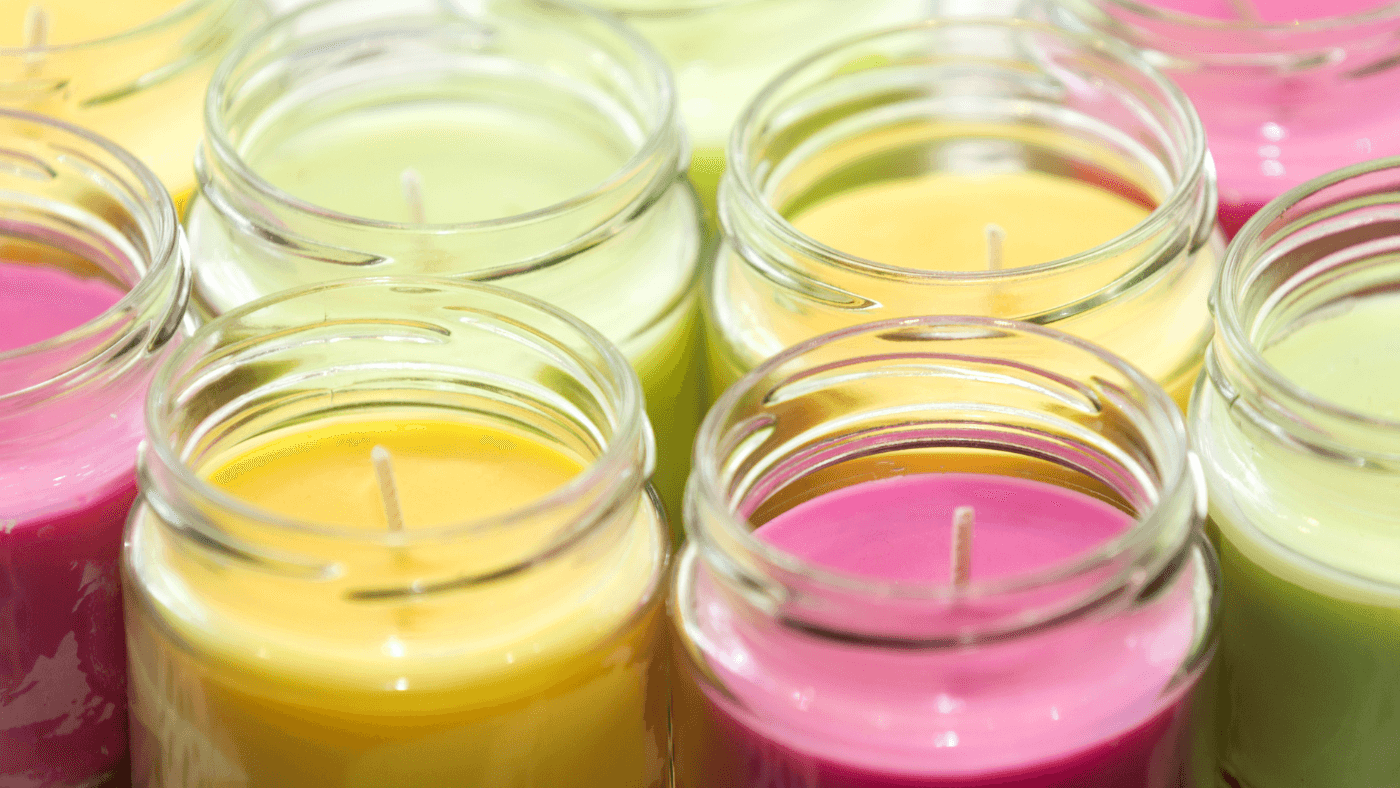


If you've ever wanted to learn how to make your own candles, you're in the right place. Candle-making is a fun and rewarding craft that allows you to create custom products that match your personal taste or even start a small business.
In this guide, we’ll walk you through the step-by-step process and teach you how to make your own candles at home, from choosing the right materials to adding high-quality fragrance oils and colours. Whether you’re a beginner or looking to refine your technique, this guide will provide everything you need to know.
Why Make Your Own Candles?
Learning how to make your own candles comes with several benefits:
Customisation: Choose your own scents, colours, and container styles.
Cost Savings: Making candles at home can be more affordable than buying high-end candles.
Eco-Friendly Options: You can use natural waxes.
Great for Gifts or Business: Handmade candles make excellent gifts or even a potential product for a small business.
A Fulfilling Hobby: Many chandlers comment on how the craft of candle-making is relaxing, enjoyable and good for their mental health and wellbeing.
Materials You’ll Need
Before you start, gather the following materials:
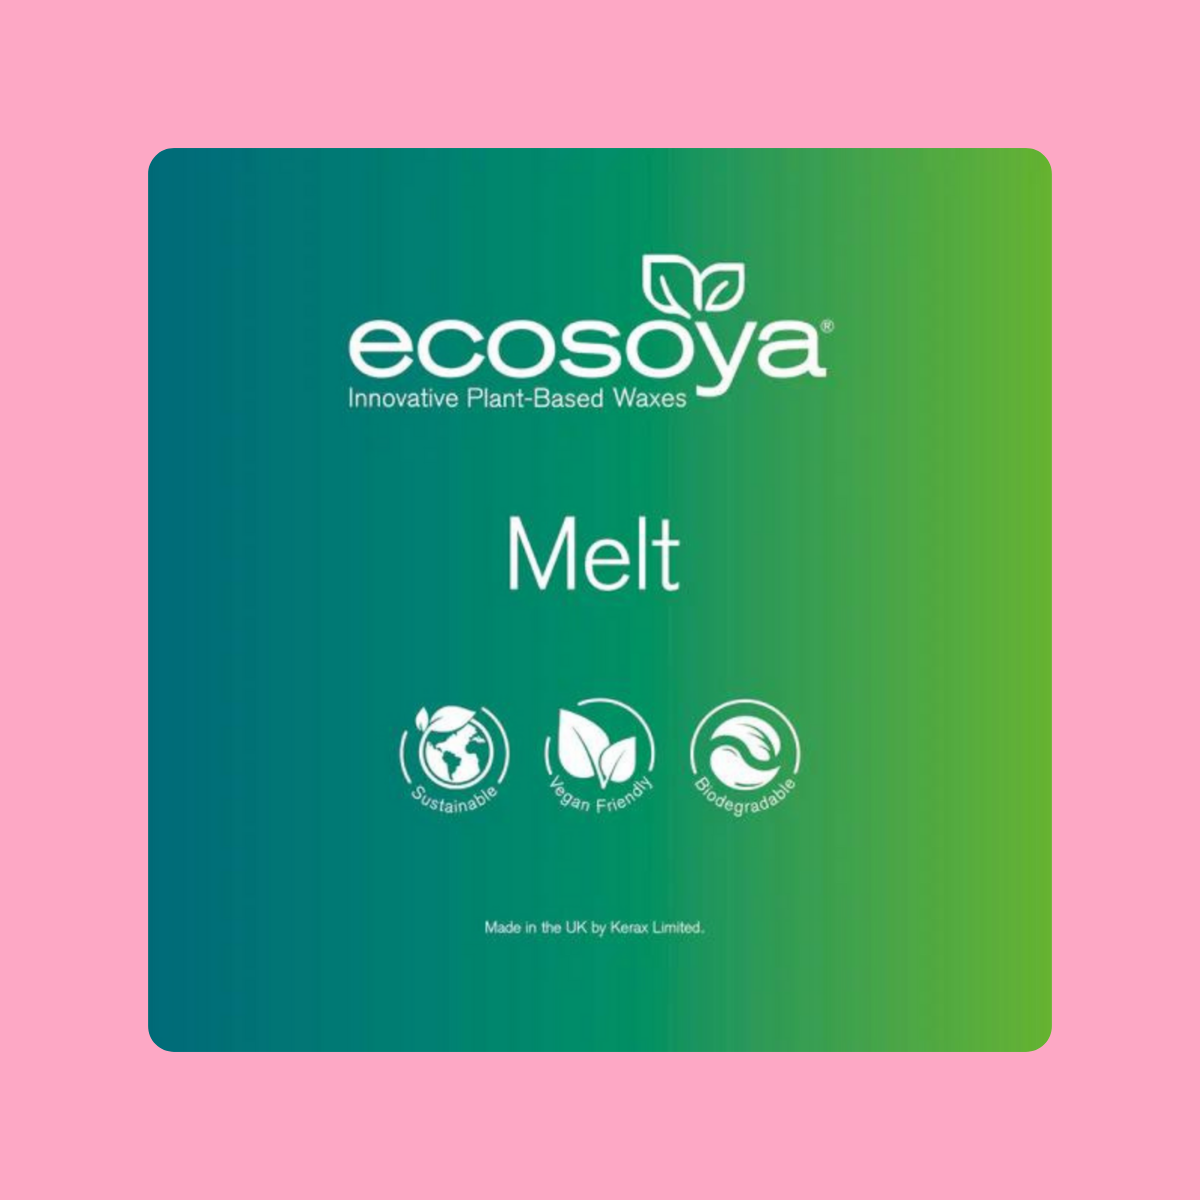
Wax: Soy wax, paraffin wax, or beeswax
Wicks: Choose the right wick size for your container
Fragrance Oils: For adding scent
Dye or Pigment (Optional): To add colour
Containers or Moulds: Glass jars, tins, or silicone moulds
Double Boiler or Melting Pot: For melting the wax
Wooden Skewers or Wick Holders: To keep the wick centred
Thermometer: To monitor wax temperature
Glue Dots or Wick Stickers: To secure the wick
Step 1: Choosing the Right Wax
The type of wax you use determines the look and burn quality of your candle:
Soy Wax: Eco-friendly, clean-burning, and great for beginners.
Paraffin Wax: More affordable, produces vibrant colours and strong scent throws.
Beeswax: 100% natural, burns longer but has a mild honey scent that may affect added fragrances.
Step 2: Preparing Your Wick and Container
Clean your container to remove any dust or residue.
Attach the wick to the centre of the container using a glue dot or wick sticker.
Secure the wick in place with a wooden skewer or wick holder to keep it upright while pouring wax.
Step 3: Melting the Wax
Use a double boiler or melting pot to heat the wax slowly.
Stir occasionally to ensure even melting.
Monitor the temperature using a thermometer:
Soy wax: 170-180°F (77-82°C)
Paraffin wax: 185-195°F (85-90°C)
Beeswax: 145-150°F (63-65°C)
Step 4: Adding Fragrance and Colour
Once the wax reaches the right temperature, add fragrance oil.
Stir well to distribute the scent evenly. Typically, use 6-10% fragrance oil per weight of wax.
If you want coloured candles, add dye or pigment and stir until evenly blended.
Step 5: Pouring the Wax
Let the wax cool slightly before pouring (around 130-140°F for soy wax, 150-160°F for paraffin wax).
Slowly pour the wax into the prepared container, avoiding air bubbles.
Leave some space at the top of the container.
Allow the candle to set for several hours or overnight.
Step 6: Trimming the Wick and Finishing Touches
Once fully set, trim the wick to about 1/4 inch (6mm) to ensure a clean burn.
Optionally, decorate the candle with dried flowers, glitter, or a custom label. Don't forget to add a CLP label if you are planning on gifting or selling your candles - this is a legal requirement!
Troubleshooting Common Candle-Making Issues
Uneven Surface: Try a second pour of wax to smooth out imperfections.
Frosting (in Soy Wax): This is natural but can be reduced by pouring wax at a slightly lower temperature.
Wick Tunnelling: Ensure you burn the candle long enough on the first use to create a full melt pool. We recommend at least 4 hours...but no longer!
Weak Scent Throw: Check that you’re using the right amount of fragrance oil and mixing at the correct temperature. We recommend ensuring that you use only premium, undiluted fragrance oils from trusted suppliers such as House of Scent. All of our fragrance oils are premium quality and professional grade to guarantee a scent through in a number of applications.
Final Thoughts
Now that you know how to make your own candles, you can experiment with different wax types, fragrances, and colours to create unique, high-quality candles. Whether for personal use, gifts, or even starting a candle business, this skill offers endless possibilities. Happy candle-making!