

.jpg)
Product Photography Tips: Candle, Wax Melt & Bath Bomb Makers
If you run a small handmade business - whether you're crafting luxurious candles, colourful wax melts, or stunning bath bombs - you’ve likely faced the challenge of capturing your beautiful products in a way that does them justice. And if you're not a professional photographer, it can feel very overwhelming.
The truth is, your product photography matters - a lot. Online, your photos are the customer’s first impression. They can’t touch, smell, or test your products, so what they see becomes the deciding factor on whether or not they decide to place an order with you. Whether you’re selling on Etsy, Shopify or social media, beautiful imagery builds trust, elevates your brand, and ultimately boosts sales.
The best part? You don’t need a fancy camera or expensive studio setup to take eye-catching photos. All you need is your smartphone and a few simple tricks. In this blog, we’ll show you exactly what you need to know with practical product photography tips designed for sellers just like you.
Get the Lighting Right
Lighting is the most important ingredient for a great photo, and luckily, you already have access to one of the best light sources - the sun!
✅ Use Natural Light
Natural daylight gives your products a soft, true-to-life glow. Set up near a window or open door with plenty of indirect light. A lightly overcast day is perfect because it acts like a natural diffuser, softening shadows and giving your products an even tone.
You can also use reflective surfaces to bounce light back onto your product and minimise harsh shadows. Avoid mixing light sources - like natural light with indoor bulbs - as this can mess with colour accuracy.
❌ Avoid These Common Lighting Mistakes:
Direct sunlight - It creates harsh highlights and shadows.
Overhead indoor lights - They often produce an unflattering yellow tint.
Flash - It flattens your product and adds unwanted reflections or glare, especially on shiny packaging or wax surfaces.
Choose the Perfect Background
One of the easiest product photography tips you can implement right away is using a background that complements your product without distracting from it.
Here’s how to pick the right background for your brand:
Simple Options:
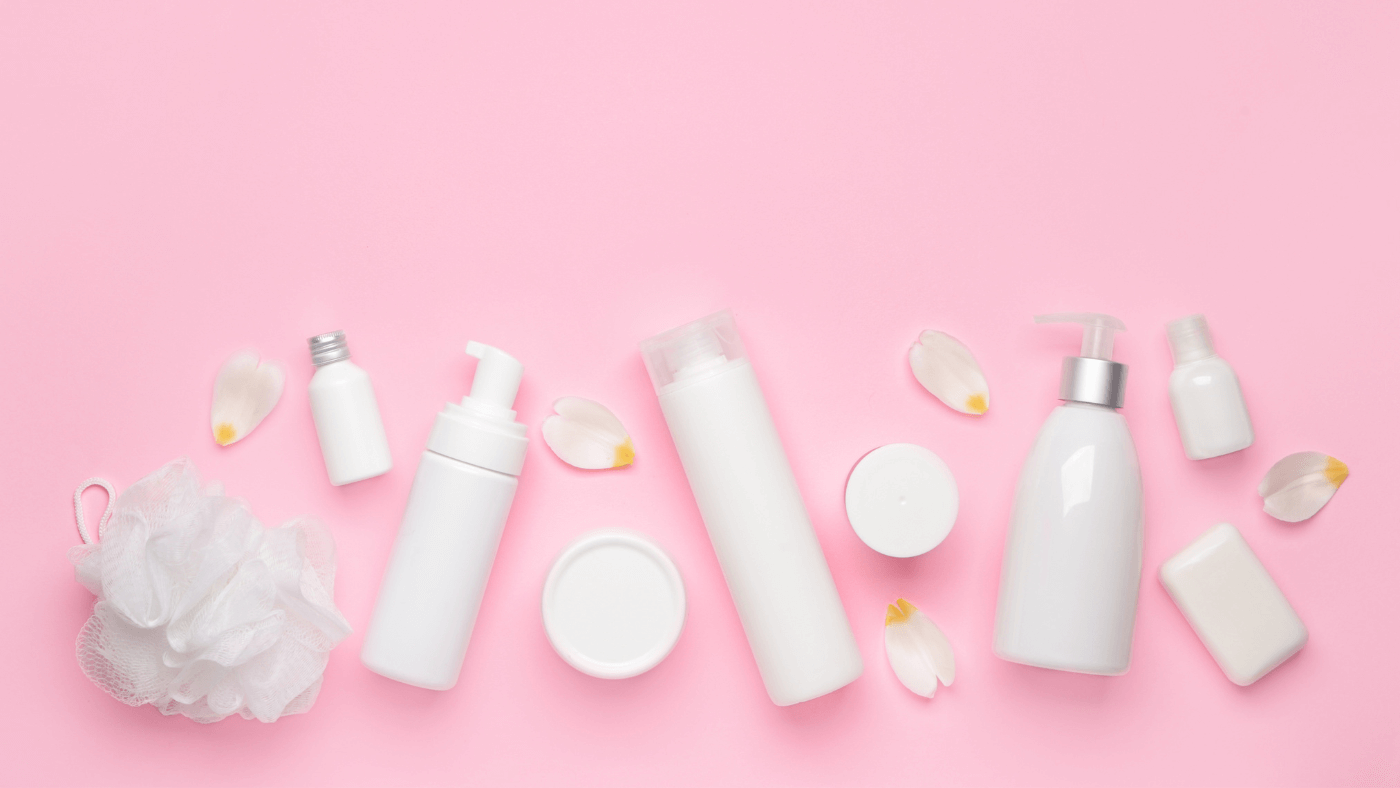
White or neutral backdrops (paper, card, or a vinyl sheet) work great for a clean, professional, minimalist look.
Textured backgrounds like wood, slate, linen, or marble offer a natural, lifestyle feel - ideal for products like candles or bath bombs.
On-brand props or colours can enhance the vibe - e.g., rose petals with a floral bath bomb or warm tones for a vanilla candle.
The key is consistency. Using the same few backdrops over time helps you build a recognisable brand aesthetic.
Style Your Products With Intention
Styling helps tell your product’s story and adds visual interest to your shots. It’s not about cluttering the frame - it’s about enhancing your product’s appeal. This is one of the most creative product photography tips because it allows you to tell a story.
For Wax Melts:
Display a few grouped together to show variety.
Show one melting in a burner to capture how it looks in use.
Add a close-up shot to highlight glitter, colours, or textures.
For Candles:
Include a burning candle with the flame in focus (but make sure it’s safe and on a steady surface).
Use cosy props - books, mugs, fairy lights - to evoke mood.
Showcase both the label and the top of the candle to give customers multiple angles of your products.
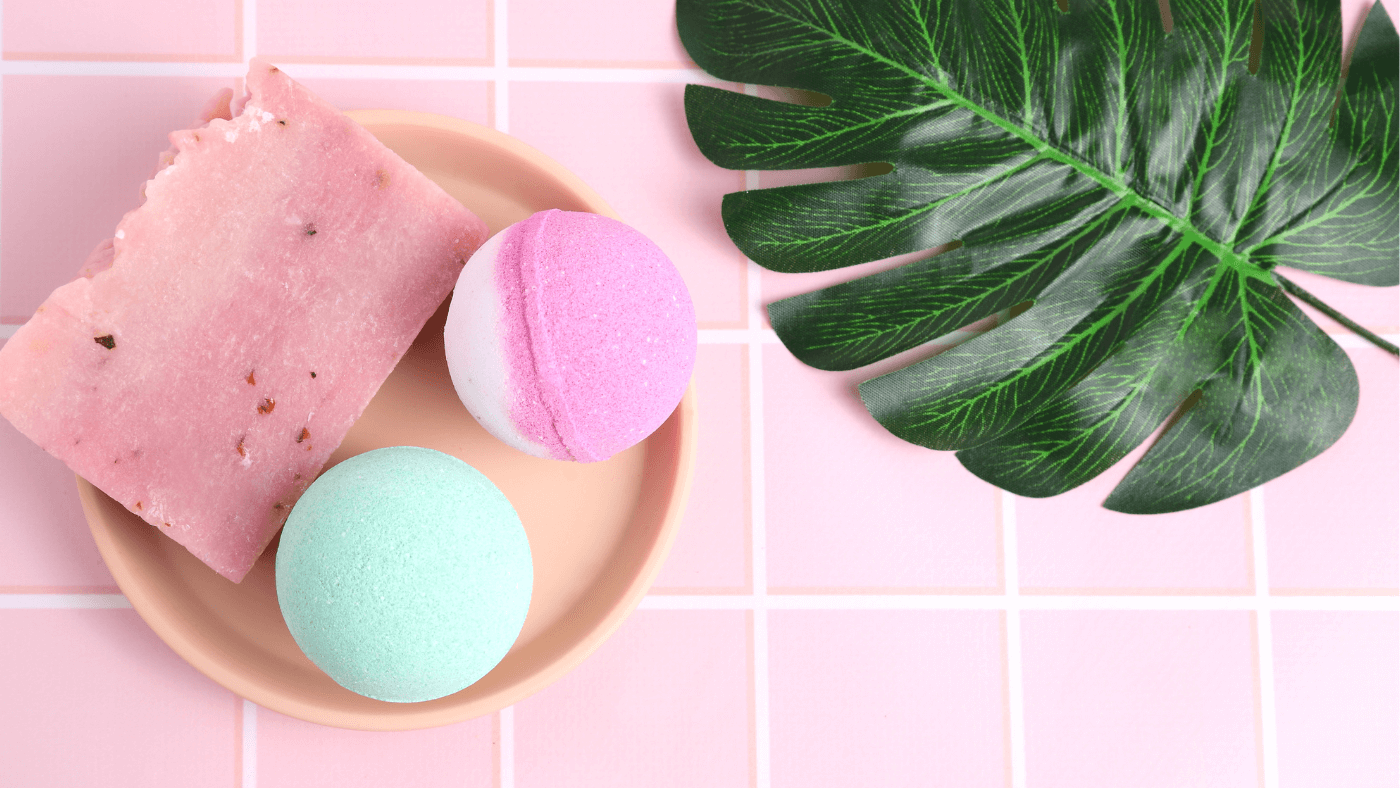
For Bath Bombs:
Use natural props like towels, petals, or bamboo trays to give a spa-like feel.
Show the bath bomb fizzing in the water (a short video or gif can work wonders too) so customers can see your amazing product in action.
Stack or arrange bombs in odd numbers - this visually pleasing and great for product bundle shots.
Master Your Phone Camera
Most smartphones today have cameras that rival entry-level SLRs. You just need to learn how to use them to their full potential. These product photography tips will help you make the most of your mobile device:
Tips for Better Smartphone Photos:
Clean your lens - you’d be surprised how many blurry photos are caused by fingerprints!
Tap to focus on your product so the camera knows where to sharpen.
Adjust brightness manually using the slider (usually a little sun icon).
Don’t zoom in - move closer to your subject for better resolution.
Try portrait mode to get a softly blurred background (great for lifestyle photos).
Hold your breathe as you take your photo - This helps to keep your phone steady (or you can use a tripod for consistent, sharp results every time).
Take multiple shots from different angles - straight-on, top-down, and 45-degrees are go-to options that cover all your bases.
Edit Lightly for a Professional Finish
Even the best raw photo can benefit from a quick edit. Editing helps correct lighting issues, enhance clarity, and bring out the true colours of your product and makes the photo "pop" which will help grab a customers attention. These product photography tips will help polish your shots without over-editing:
Free editing apps to try:
Lightroom Mobile – excellent for fine-tuning lighting and colour.
Snapseed – easy and intuitive with powerful features.
Canva – ideal for combining photos with text for social media posts or banners.
Focus on learning how to do these basic edits:
Brightness/Exposure – to lift darker images.
Contrast – to make details pop.
Sharpness – especially important for glitter, swirls, or small labels.
White balance – make sure your whites look white, not yellow or blue.
If you're new to editing or feel overwhelmed by technical tools, apps like PhotoRoom and Canva are great beginner-friendly options.
PhotoRoom automatically removes backgrounds with just one tap, making it easy to place your product on a clean or branded backdrop.
Canva is incredibly user-friendly, offering ready-made templates for social media posts, product promos, and more - all without needing graphic design skills.
These tools are perfect for anyone who wants polished, professional-looking results without a steep learning curve.
Avoid heavy filters that distort your product’s true colours. The goal is authenticity with a polished finish.
Use a Mix of Photo Types
Customers love seeing different angles and settings. Include a variety of photo styles to cover all the key info:
Flat lays: Top-down shots (bird's eye view) is ideal for Instagram or product groups.
Detail shots: Highlight texture, shimmer, or unique product features.
Lifestyle images: Show the product in use to help customers imagine it in their space.
Packaging shots: Show how your product arrives - it builds excitement and shows attention to detail.
If you’re wondering how to take product photos with phone that truly convert - this mix of styles is key. Mixing different image types keeps your product pages visually interesting and informative. It’s one of the most underrated product photography tips that can instantly boost your professional appeal.
It can also make your listings and content richer and more persuasive....plus, the more photos, the more SEO opportunity to help you been seen by potential customers!
Be Consistent With Your Brand Style
Brand consistency builds trust. Your customers should be able to recognise your products from a glance - whether they’re browsing on Instagram, your website, or Pinterest, for example.
Stick to a few editing pre-sets, backgrounds, and props that reflect your brand’s personality. Whether you’re going for cosy and natural, clean and minimalist, or bold and colourful - make it cohesive and don't chop and change styles as this confuses customers.
Final Thoughts: You’ve Got This!
Mastering product photography tips doesn’t require a big budget or fancy camera. Learning how to take product photos with your phone is one of the most valuable skills you can develop as a small business owner. The more you practice, the more confident you’ll get - and the better your photos will become.
You don’t need fancy equipment. You don’t need a photography degree. You just need a little time, some natural light, and a phone you already own.
Whether you're capturing your latest candle batch, a set of glittery wax melts, or a fresh batch of bath bombs, these tips will help you create professional-looking product photos that sell.
Bonus Tip: Save this guide and create a mini setup by a bright window in your home or studio. Having a dedicated photo corner makes the process faster and easier every time you launch something new!
Join Our Craft Community
Need more support or inspiration? You're not alone on this journey! Join our friendly craft community where makers like you share tips, advice, encouragement, and plenty of behind-the-scenes fun.
Whether you're struggling with lighting, unsure about props, or just want feedback on your latest photos, our group is the perfect space to learn and grow together.
Plus, we regularly post more product photography tips, helpful resources, and creative ideas to keep your brand looking its best. Come connect with fellow makers of home fragrance, bath & body and cosmetic creations - we’d love to have you!
JOIN THE HOUSE OF SCENT COMMUNITY