


.jpg)
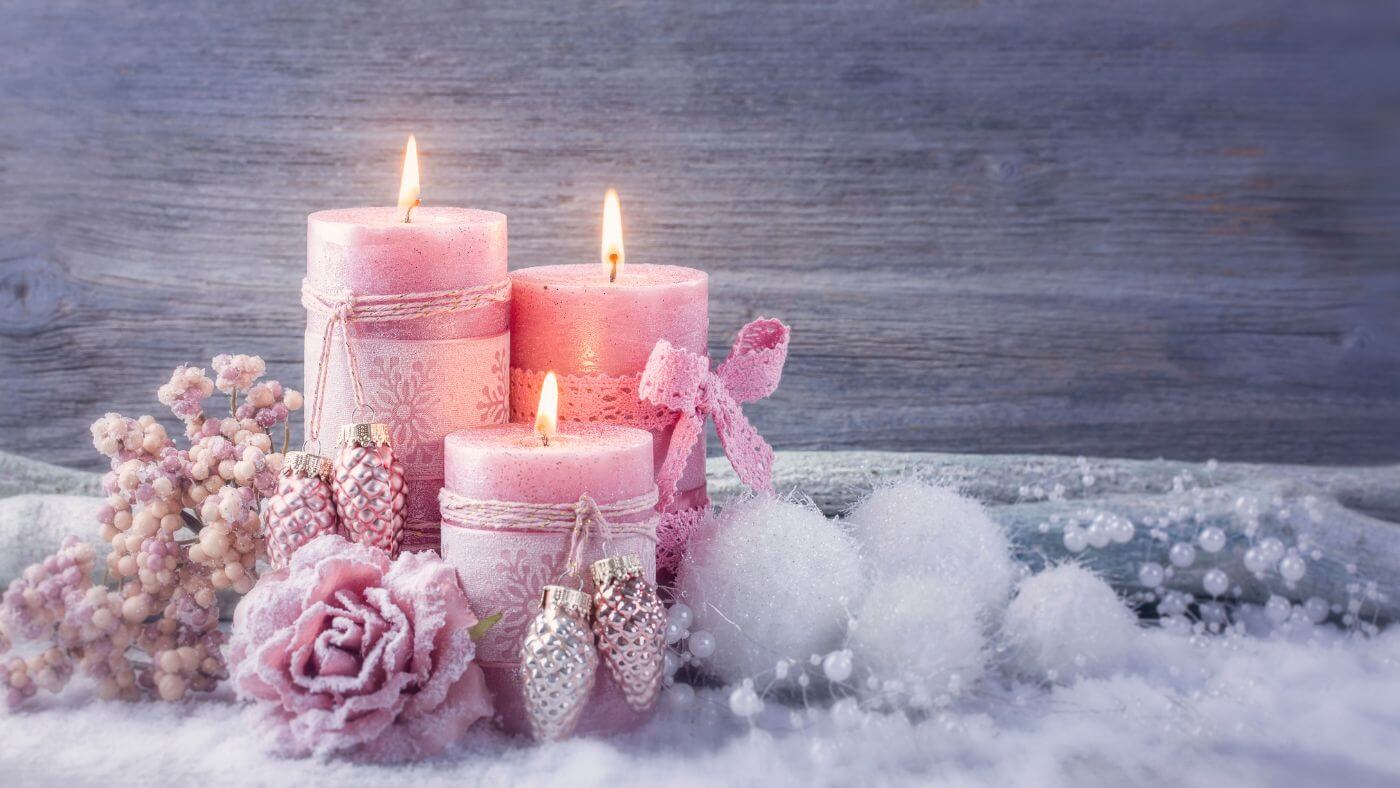
Creating coloured candles at home is not only a fun and rewarding experience, but it also allows you to customise your candles to match any occasion, décor or mood.
You can make a coloured candle with liquid dye and it's super easy to do. With this addition, you can easily make vibrant, colourful candles that are perfect for gifts or personal use.
In this blog post, we’ll walk you through the process of making your own coloured candle using liquid dye and fragrance oil. Whether you're a beginner or an experienced crafter, this guide will help you create beautiful candles that are both visually striking and aromatic.
Why Liquid Dye?
Liquid dye is a fantastic choice for colouring candles because it blends smoothly into the wax, creating an even, consistent colour. Unlike solid or powdered dyes, liquid dye doesn’t require melting or breaking down before use, making it a convenient option. Plus, it allows you to control the intensity of the colour, whether you want a subtle pastel or a bold, vivid hue.
Now, let’s dive into the process of making your own coloured candle!
What You’ll Need
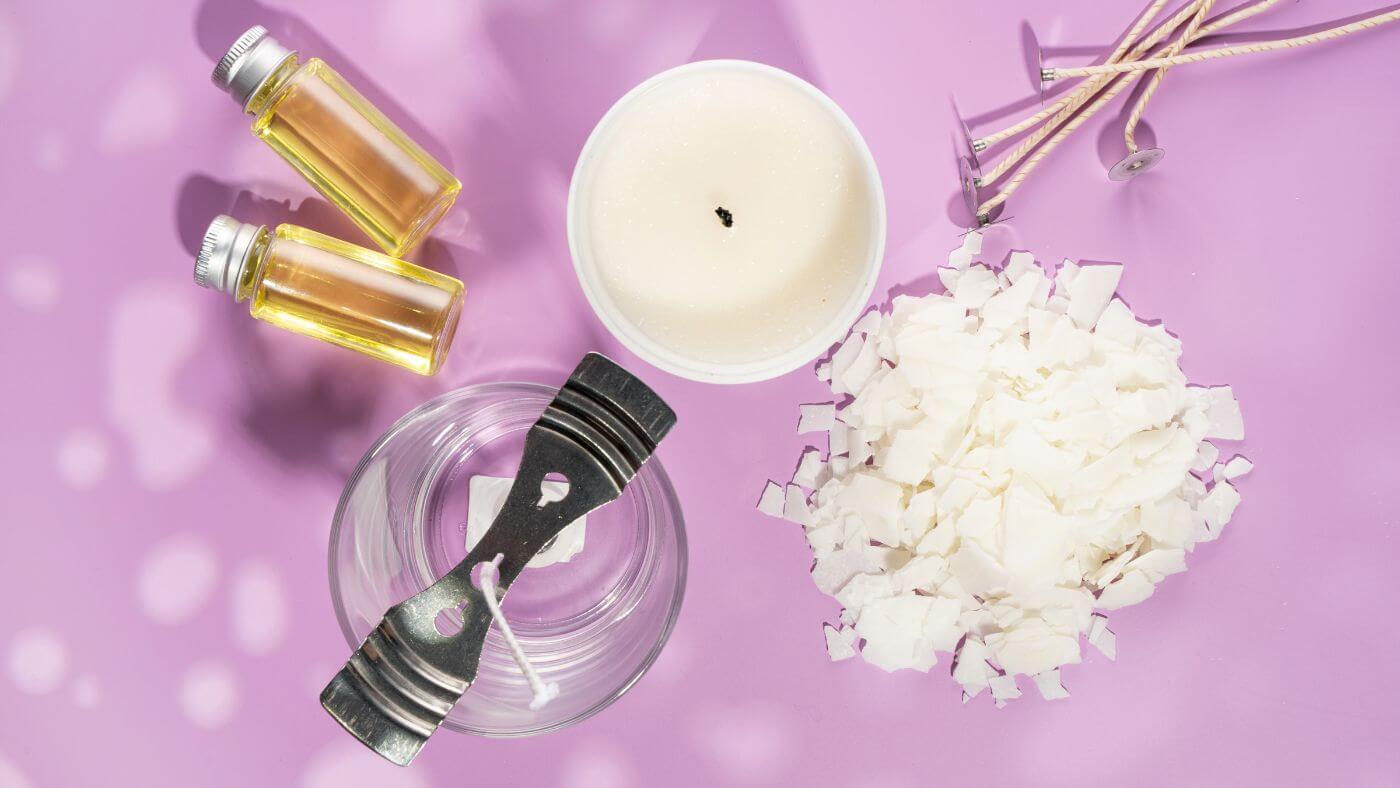
Before we get started, let’s gather all the materials and tools you’ll need for this project:
Ingredients
Soy Wax (or any candle wax of your choice) - Soy wax is a great choice for beginners due to its clean burn and excellent scent throw.
Fragrance Oil - Choose your favourite scent to give your candle a delightful aroma.
Liquid Candle Dye - Pick a colour that suits your preference. Liquid dyes are available in a wide range of colours, allowing for endless creative possibilities. For example, if you're using a citrus scented fragrance oil, a yellow or orange liquid dye will match the vibe perfectly.
Wick - A cotton or wooden wick works best for soy wax candles.
Wick Stickers or Glue Dots - These will help keep the wick in place at the bottom of the container.
Container - Use a heat-resistant container such as a glass jar, tin or ceramic pot to hold your candle.
Tools
Pouring Pitcher or Heat-Safe Container - This is where you’ll melt your wax using the double boiler method.
Thermometer - To monitor the temperature of your wax, especially when adding fragrance oil and dye.
Mixing Spoon or Stir Stick - For stirring the wax, dye and fragrance oil together.
Clothespins or Wick Holders - To keep the wick straight and centred while the wax cools.
Set Up Your Workstation
Candle-making can be a bit messy, so it’s a good idea to set up your workspace with some newspaper or paper towels to catch any spills. Make sure you have all your materials and tools ready before you begin.
Measure and Melt Your Wax
The first step is to measure out the wax you’ll be using. As a general rule, you’ll need about double the volume of wax for the size of your container. For example, if your container holds 8 ounces, you’ll need 16 ounces of wax flakes.
Once you’ve measured your wax, place it in your pouring pitcher or heat-safe container. You’ll be using the double boiler method to melt the wax, which involves placing the container in a pot of simmering water. This gentle heating process prevents the wax from burning or overheating.
Stir the wax occasionally as it melts, and use your thermometer to monitor the temperature. For soy wax, you’ll want to melt it to 85°C.
Add the Liquid Dye
Once your wax has melted, it’s time to add your liquid dye. The beauty of liquid dye is that it’s highly concentrated, so you only need a few drops to achieve a rich colour. The more drops you add, the darker and more intense the colour will be.
Here’s how to add the dye:
Start with a Small Amount - Add 1-2 drops of liquid dye to the melted wax. Stir thoroughly to ensure the dye is fully mixed into the wax.
Test the Colour - To see what the final colour will look like, you can use a spoon to scoop out a small amount of wax and let it cool on a piece of wax paper. The colour of the wax when liquid is usually lighter than when it solidifies, so this test will give you an accurate preview.
Adjust the Colour - If the colour is too light, add more drops of dye until you achieve the desired shade. Remember, you can always add more dye, but you can’t take it away—so start with small amounts and gradually build up the intensity.
Add Fragrance Oil
Once you’re happy with the colour, it’s time to add your fragrance oil. The fragrance oil will give your candle its signature scent, and you can choose any fragrance that suits your style.
For most candles, you’ll want to use about 6-10% fragrance oil relative to the weight of the wax. For example, if you’re working with 16 ounces of wax, you’ll need about 1-1.6 ounces of fragrance oil.
Here’s how to add it:
Check the Temperature: The wax should be around 185°F when you add the fragrance oil. If it’s too hot, the fragrance oil may burn off, resulting in a weaker scent.
Stir Well: Add the fragrance oil to the melted wax and stir for about two minutes to ensure it’s evenly distributed throughout the wax.
Attach the Wick to Your Container
Before you pour the wax into the container, you’ll need to attach the wick. Use a wick sticker or glue dot to secure the wick to the centre of the bottom of your container.
To keep the wick upright and centred as the wax cools, you can use a clothespin, wick holder, or even a pencil laid across the top of the container.
Pour the Wax
Once your wax has cooled slightly (to around 135°F), it’s time to pour it into the container. Pour slowly and carefully to avoid creating air bubbles. Leave about 1/2 inch of space at the top of the container to allow for the wax to settle.
As the wax begins to cool and solidify, the colour will become more apparent, and you’ll see the beautiful shade you created with the liquid dye.
Let the Candle Set and Cool
Now that your wax is poured, it’s time to let the candle cool and set. This process can take a few hours, depending on the size of the candle. Make sure the wick stays centred during this time.
Once the wax has fully hardened, trim the wick to about 1/4 inch. This length is perfect for burning your candle without causing excess smoke or soot.
Cure the Candle
While your candle is technically ready to burn now, it’s best to let it cure for at least 24-48 hours. Curing allows the fragrance to fully bind with the wax, giving you a stronger scent throw when you light the candle. If you’re making candles for gifts, be sure to cure them before giving them away.
Light and Enjoy!
Once your candle has cured, it’s time to light it up and enjoy the fruits of your labour! Place your candle in a safe spot, away from drafts and anything flammable, and watch as the beautiful colour you created illuminates your space. Not only will your candle look amazing, but it will also fill your home with a delightful fragrance.
Final Thoughts
Making coloured candles with liquid dye is an easy and fun way to customize your candle-making experience. Whether you want to match the colour to your home décor, a specific event, or just your favourite colour, liquid dye gives you endless options to get creative.
So grab your soy wax, your favourite fragrance oil, and some colourful liquid dye, and start crafting your very own vibrant, aromatic candles. Happy candle-making!