
.jpg)
Painting candles and wax melts with mica powder and isopropyl alcohol (ISO) can add a beautiful, personalised touch to your creations. Follow this step-by-step guide to achieve vibrant and unique designs.
To Paint Candles & Wax Melts with Mica Powder + Isopropyl Alcohol -
Materials Needed:
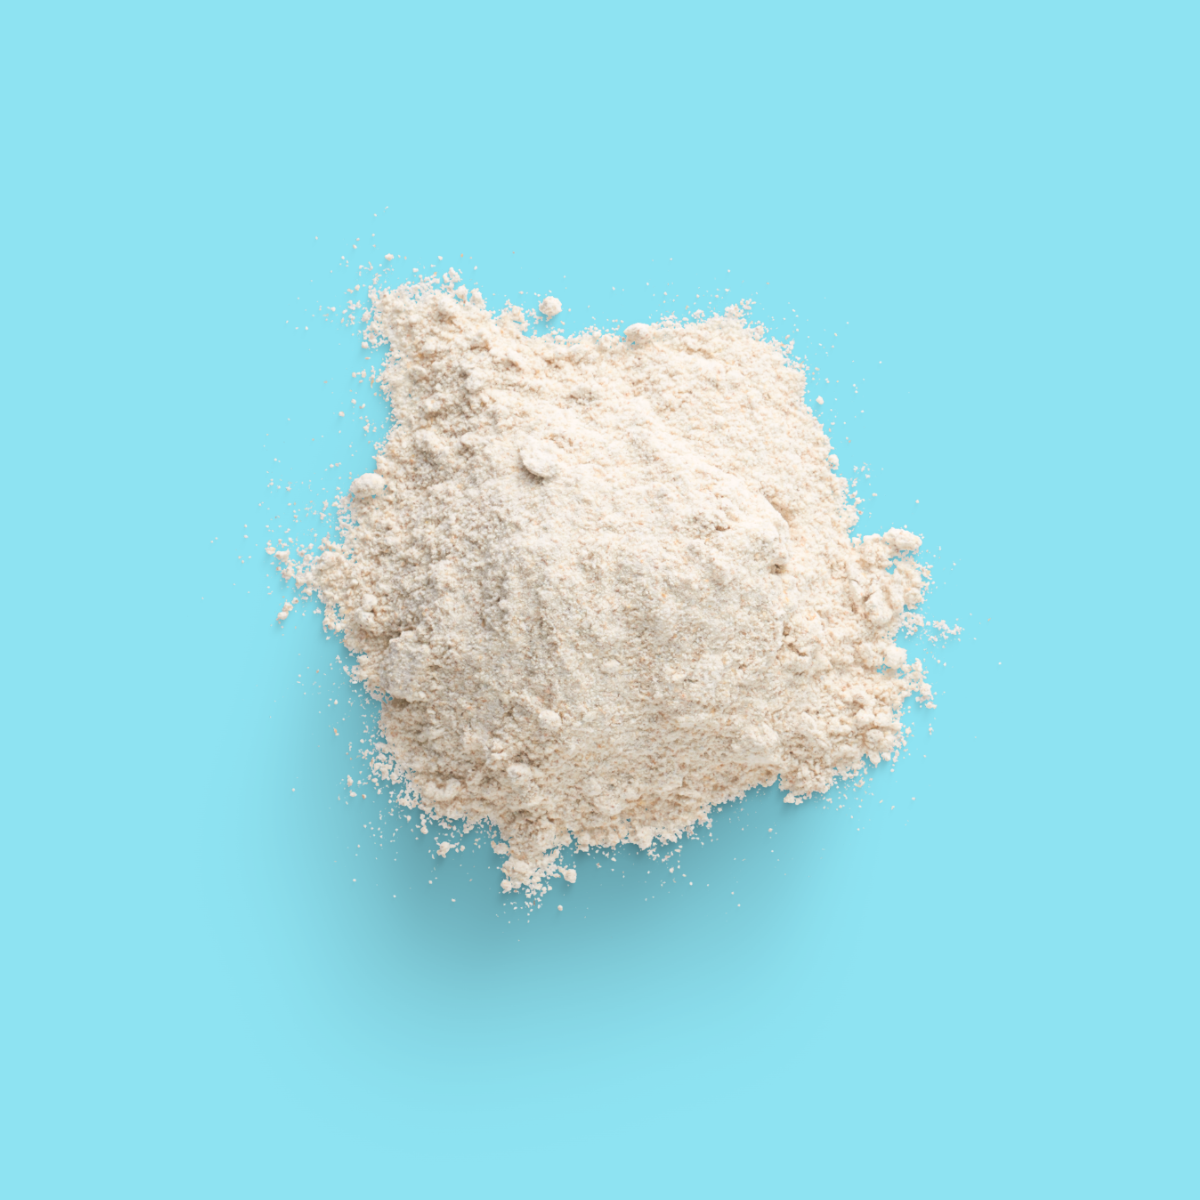
- Mica powder in your chosen colours
- Isopropyl alcohol (90% or higher)
- Small mixing bowls or palettes
- Fine paintbrushes or sponges
- Unpainted candles or wax melts
- Clean cloths
Isopropyl Alcohol
£7.99
A versatile essential for crafting and soap making. ISO can be used to mix with mica powders to create vibrant paints. Simply combine mica powder with a small amount of ISO to form a smooth, paint-like consistency. Use a fine brush… read more
To Paint Candles & Wax Melts with Mica Powder + Isopropyl Alcohol -
Step 1: Prepare Your Workspace
Clean Surface - Lay down some newspaper or an old tablecloth to protect your workspace.
Gather Supplies - Ensure all of your materials are within reach to streamline the process.
Step 2: Clean Candles/Wax Melts
Wipe Down - Use a clean cloth dampened with ISO to wipe the surface of your candles or wax melts. This removes any dust, fragrance oil or residue, ensuring better paint adhesion.
Dry - Allow the surface to air dry completely.
Step 3: Mix the Mica Paint
Combine Mica and ISO - In a small mixing bowl or palette, combine a small amount of mica powder with ISO. Start with a 1:1 ratio and adjust as needed to achieve a smooth, paint-like consistency.
Stir Well - Mix thoroughly until the mica powder is fully dissolved and there are no clumps in the mixture.
Step 4: Apply the Paint
Dip Brush/Sponge - Dip your fine paintbrush or sponge into the mica and ISO mixture.
Paint the Surface - Apply the paint to the candle or wax melt. You can create solid colours, intricate designs, or gradient effects depending on your preference.
Layer Colours - Allow the first layer to dry completely before adding additional colors or layers. ISO evaporates quickly, so drying time should be minimal.
Step 5: Create Designs
Use Stencils - For precise designs, use stencils. Place the stencil on the candle or wax melt, then paint over it. Remove the stencil carefully while the paint is still wet.
Freehand Art - If you prefer freehand painting, use your brush to create unique patterns, lines, and textures.
Drip Effect - For a drip effect, load your brush with more paint and let it drip down the sides of the candle or wax melt. Ensure that you leave your creations to dry thoroughly after painting and before handling.
Tips for Success -
Experiment with Ratios - Adjust the ratio of mica to ISO to achieve different opacities and textures.
Take Notes - Keep track of your colour mixtures and techniques for future reference.
Test First - If you're new to this technique, practice on a small, test candle or wax melt before commencing batch production.
Conclusion -
It's fun learning how to paint candles & wax melts with mica powder & Isopropyl alcohol, plus, it's a creative way to add a personal touch to your creations. With a bit of practice and experimentation, you'll be able to produce stunning, one-of-a-kind designs that stand out from the crowd!