


.jpg)
Making candles at home is a fulfilling and creative hobby. You get to choose the wax, the fragrance oil, the colour and the container - giving you endless customisation options. But there’s one critical step that you should never skip when making candles, whether for personal use or to sell: conducting a candle burn test.
This test ensures your candles burn safely, evenly and smell as amazing as you intended. It’s all about quality control to ensure your candles are top-notch.
So, let’s dive into the world of candle burn testing and learn how you can perfect your candles with some easy-to-follow tips. Whether you’re new to candle-making or an experienced crafter, this blog will help you master the burn test!
What Is a Candle Burn Test?
A candle burn test is a process where you light your finished candle to see how well it burns over time. The test helps you evaluate factors such as:
Burn time - How long your candle lasts.
Melt pool - How evenly your wax melts.
Wick performance - Whether the wick is too big, too small, or just right.
Scent throw - How well the fragrance fills the room.
Safety - Whether the flame is safe and contained.
These factors are important whether you're making candles for personal use or selling them to customers.
Why Is Conducting a Burn Test Important?
Burn testing your candles allows you to catch any issues before they become problems. Nobody wants a candle that burns unevenly, leaves wax stuck to the sides of the container, or worse—creates a safety hazard. Conducting a burn test ensures your candle performs as it should, delivering the scent and ambiance your customers (or you) expect.
Here’s why it’s essential:
Ensures Even Burning - Without testing, your candle could burn unevenly, leaving a bunch of wax wasted on the sides of the container.
Scent Quality Check - You want to ensure the scent throws well and isn't too faint or too overpowering.
Wick Performance - The wrong wick can cause tunneling, excessive smoke, or even flame flare-ups. A burn test helps determine if the wick is the correct size for your candle.
Safety - The last thing anyone wants is a candle that burns too hot or becomes dangerous. Testing ensures the flame stays safe and contained.
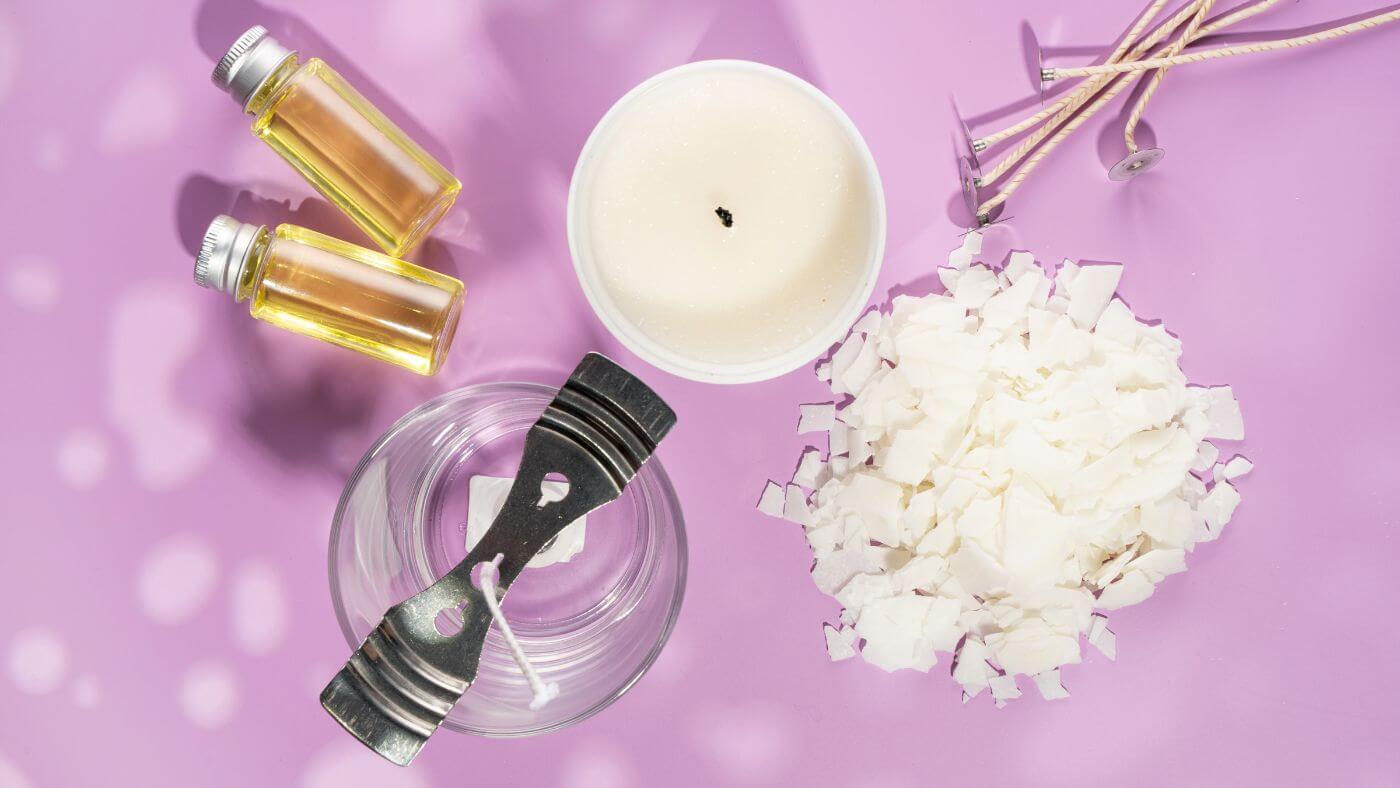
What You’ll Need for a Candle Burn Test
Before you start, gather these simple tools:
- Your finished candle
- A lighter or match
- A ruler or tape measure (for measuring the melt pool)
- A stopwatch or timer
- Pen and paper (or your phone) for recording results
Step-by-Step Guide to Conducting a Candle Burn Test
Let’s walk through each step of conducting a candle burn test, so you can evaluate your candle’s performance like a pro!
Prepare the Candle for Testing
Once you’ve made your candle and allowed it to cure for at least 24-48 hours (curing time helps the fragrance bind with the wax), trim the wick to about 1/4 inch. A long wick could create too much smoke or cause the flame to flare up, so this step is key for getting an accurate test.
Measure Your Candle’s Diameter
The size of your candle’s container will help you determine how your candle should perform during the test. The goal is to achieve a full melt pool (the liquid wax that forms as the candle burns) that extends from edge to edge of the container.
For example:
A small candle with a 2-inch diameter should achieve a full melt pool in about 1-2 hours.
Larger candles with a 4-inch diameter might take 4 hours to reach a full melt pool.
Write down the container’s diameter in your notes—it’ll help you evaluate the melt pool later.
Light the Candle
Now, light the candle and start your timer. This is the fun part! Let the candle burn undisturbed, and observe how the flame behaves. Does it flicker or remain steady? Does it produce a clean burn, or is there smoke?
Check the Melt Pool
After about 2-4 hours (depending on the size of your candle), it’s time to check the melt pool. Here’s what to look for:
Full Melt Pool - Ideally, the wax should melt evenly across the surface, reaching the edges of the container. If it only melts in the middle and leaves a “tunnel,” the wick may be too small.
Depth - The depth of the melt pool should be about 1/4 inch deep. Too shallow, and your candle might not burn evenly; too deep, and the flame could drown in wax.
If the melt pool doesn’t reach the edges after several hours, you might need to adjust your wick size for future candles.
Evaluate the Flame and Wick
While your candle is burning, keep an eye on the flame and the wick:
Steady Flame - A good flame should be steady and around 1/2 to 3/4 inch tall. If it flickers wildly, the wick may be too long or too small for the candle.
Wick Mushrooming - If you see the wick forming a mushroom-shaped ball at the top, this indicates carbon buildup. A small amount is normal, but excessive mushrooming can cause soot and a larger flame, which may not be safe.
Smoke and Soot - Ss your candle producing black smoke or soot around the rim? This could be a sign that the wick is too large or that the candle is burning too hot.
Test the Scent Throw
Now let’s talk about scent! A key part of the burn test is evaluating how well your candle fills the room with fragrance.
Cold Throw vs. Hot Throw - The scent a candle gives off before it’s lit is called the “cold throw,” while the scent released during burning is the “hot throw.” Ideally, your candle should have a strong hot throw that fills the room without being overpowering.
Distance - Stand a few feet away from the candle, then further back. Can you smell the fragrance at a distance? A good candle should have a noticeable but not overwhelming scent throw.
If the fragrance is faint, you might need to adjust the fragrance oil ratio in your next batch. Most candles use about 6-10% fragrance oil for a strong scent throw.
Record Your Results
As your candle burns, make notes on everything you observe, such as:
- Time taken to reach a full melt pool
- Wick performance (steady or flickering)
- Depth and evenness of the melt pool
- Soot, smoke or mushrooming issues
- Scent throw quality
- Take notes for every hour of burning. This data will help you tweak your future candle batches.
Conduct Multiple Burn Cycles
A single burn test won’t give you the full picture of your candle’s performance. For a thorough test, burn the candle for multiple cycles, allowing it to cool completely between burns. Ideally, conduct at least 3-4 burn cycles.
Troubleshooting Common Candle Burn Issues
Here are some quick tips for resolving common candle burn issues:
Tunneling (wax left on the sides) - Try using a larger wick next time. Tunneling occurs when the wick is too small to create a full melt pool.
Excessive soot or smoke - Trim the wick before burning to prevent soot. You might also need to use a smaller wick if the candle is burning too hot.
Weak scent throw - Increase the percentage of fragrance oil in your wax, but don’t exceed the wax’s fragrance load limit (usually around 10%).
Final Thoughts
Conducting a candle burn test is not just about perfecting the art of candle-making - it’s also about ensuring safety and satisfaction. By testing your candles, you’ll gain valuable insights into how they perform and how you can improve your next batch. Plus, you’ll get the chance to enjoy the fruits of your labour by lighting up a candle and basking in its warmth and fragrance.
Happy candle testing!